Showing posts with label Martha Stewart. Show all posts

Monday, October 31, 2011

Have a Witchy Day

HAPPY HALLOWEEN!!!

My parents, husband, and myself will be jointing my co-family (in laws) in Saint Francis Wood in San Francisco for a Halloween celebration! Last year was their first Halloween in that community and the community told them it was a "hot spot" for trick-or-treaters... well, that was an understatement... We used a counter and clicked for every person that came to the door. After an hour and a half we had given candy out to 1280 children... yes, you read that number right.... 1280!!!! So this year we are going to be prepared! We are very excited about it. So I hope you are doing something fun tonight too! I am personally looking forward to the Hot Apple Cider! 

Over at Imaginisce we are giving you some last minute Halloween inspiration! So definitely go over there and check it out! 

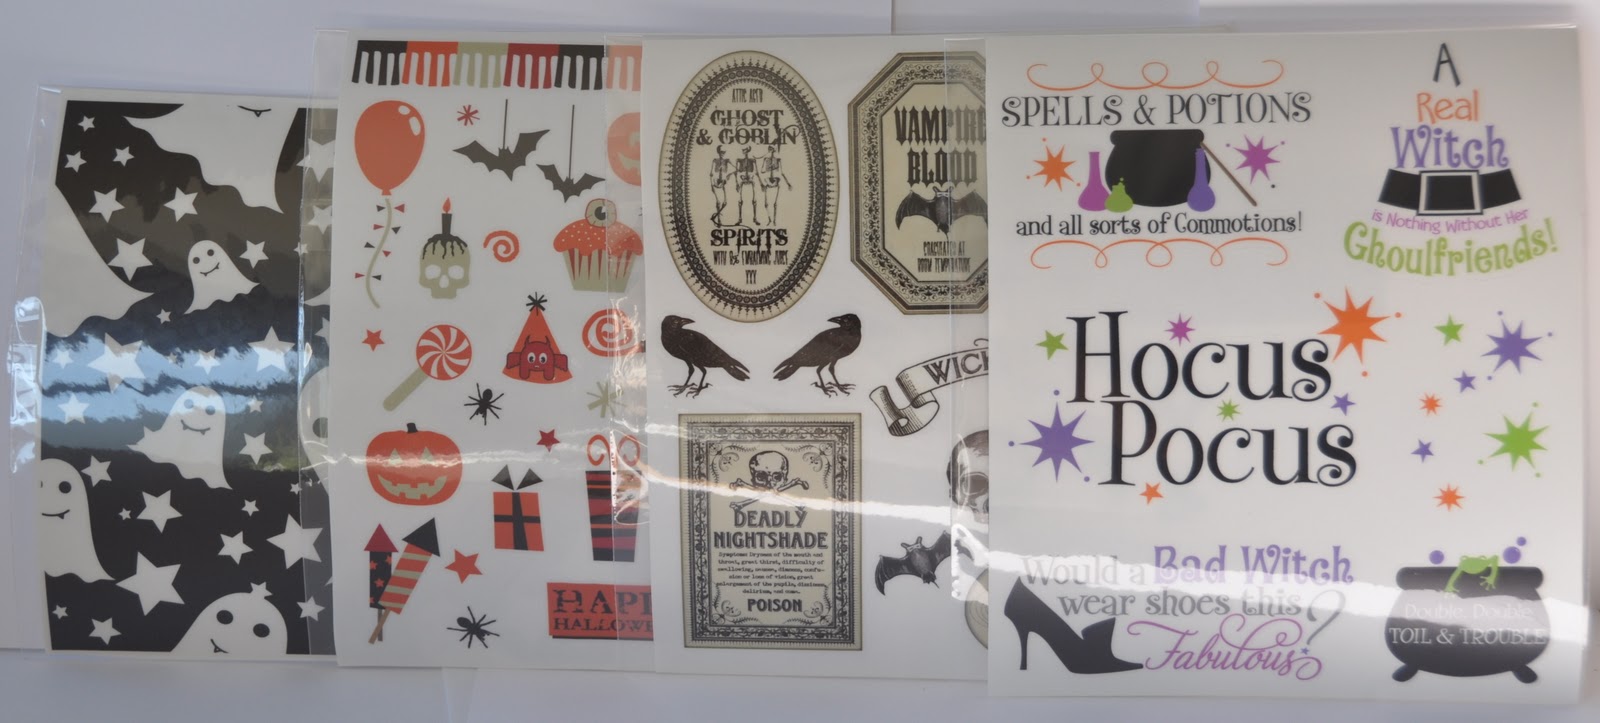
This card is going to my grammy in Ohio! I designed the whole thing around her and having her in mind and this is just PERfect for her! She is as spunky as this shoe and I get some of that from her. :) I know she'll love it! 


Recipe:


Have a safe and happy Halloween!!!

SHARE THIS POST - {PINTEREST}

Monday, December 6, 2010

Day 6 - Christmas Tags!


Good Afternoon! I hope you enjoyed this morning's post on tags over at Passionately Artistic! This is day 6 and I am the afternoon Tags post! :) This is my last post for the 12 days of Christmas series, but continue to head on over there for inspiration!  

My goal with this tutorial was to show a variety. A lot of times, I see something that I wanted to create, but I don't have the cartridge or the resources. 

Different Cartridges
Tie the Knot, Winter Woodland, Storybook, Gypsy Wanderings 
Using your Gypsy
I will show you how to make something truly unique with your Gypsy. 
No Cricut, No Cuttlebug, No Gypsy - just Scissors! 
Lastly, I will show you some tags that I did without any Gypsy, Cuttlebug, OR Cricut so that there should be inspiration here for anyone! :) 

Recipe:
Cartridge: Tie the Knot™
Base tag- 3.25"
rest - 2.5"
Stamper's Select White from Paper Trey Ink™ - heat embossed with a la Mode™ white
Martha Stewart Scandinavian Paper Pad ™ and Martha Stewart Winter Wonderland Paper Pad™
i-rock and bling by Imaginisce™
Glossy Accents
Pop Dots
Ribbon: Paper Trey Ink Saddle Stitch in Pure Poppy™

************************

Recipe:
Cartridge: Winter Woodland™ - all images cut at 3.25"
Martha Stewart Scandinavian Paper Pad ™, American Crafts Glitter Card Stock™
Paper Trey Ink Button Twine™
Ribbon from my stash

************************

Gypsy Fun making Tags!

Recipe:
Cartridge: Gypsy Wanderings™
Tag was cut at 3.75"
Snowflake and shadow cut at 2"
Accordion underneath the snowflake was cut at 1.5x12".
Martha Stewart Scandinavian Paper Pad ™Martha Stewart Winter Wonderland Paper Pad™
Button from Paper Trey Ink Vintage Holiday Mix™
Button Twine from Paper Trey Ink™
Jingle bell from Michaels

*****************

Another tag made with the aid of the Gypsy using Winter Woodland™
Recipe:
Cartridge: Winter Woodland™
Martha Stewart Winter Wonderland Paper Pad™Martha Stewart Scandinavian Paper Pad ™
Liquid Applique in White
Pop-dots
White Gel Pen™
Saddle Stitch Ribbon in Pure Poppy from Paper Trey Ink™

*****************

This last Cricut tag was two images welded together. I liked the holes it created in the middle. I cut the flourish again to place it on top. I used my i-rock to add bling and I heat embossed the "To" and "From" with gold embossing powder. 


Recipe:
Tag from Tie the Knot™
Flourish from Storybook
i-rock and bling by Imaginisce™
Martha Stewart Scandinavian Paper Pad ™
Gold embossing powder by Filigree from Paper Trey Ink™
My Mind's Eye: Holly Jolly Perfect Stamps™

No Cricut, No Gypsy, No Cuttlebug - just manufacturer love. :) 

Sometimes we get so caught up in what a tag could look like on our layouts or cards that we just forget to use them as... well... tags.

I LOVE Echo Park Paper™ and the Merry Christmas line is fabulous. I just took these stickers, stuck them to card stock, cut it out, punched a hole on the the top, i-rocked some bling and tied a ribbon. Done. I am going to stamp a "To, From" onto the back. Easy Peasy. 
Recipe:
Echo Park Paper Merry Christmas line Stickers™
i-rock and bling by Imaginisce™
Gold bows were recycled off the top of a smoked almond package! (yay for up-cylcing!)


For this next one, I just took the My Mind's Eye: I Believe Chipboard and popped it out of it's little home. I added some green ribbon and - my favorite part - since it already has an adhesive back, it will stick right onto your gift! Done! AND it already is glittered - love that.
 Recipe: My Mind's Eye: I Believe Chipboard™

Next up we have the EAD Design Stickers. I had a bunch of fun with these. I stuck them to white card stock, cut them out, punched a hole in the top, added Stickles, and tied some twine at the top. 

The best part about EAD Designs is that this sticker set comes with cute little "To: From:" stickers as well. I put these on the back, but forgot to take a picture! So you'll have to go check out their website to see how cute the font is because I love it! 


Recipe: EAD Design Christmas Tags™
Stickles in Waterfall™ - the manufacturer pic looks like it is purple, but trust me, it's blue.
Stickles in Christmas Red


I hope this inspires you to make your own Christmas tags this year! 

Don't forget to leave me a comment and become a follower if you're inspired! :) 


SHARE THIS POST - {PINTEREST}

Thursday, November 11, 2010

Digital Delights Nutcracker!

If you haven't yet entered my giveaway, click HERE to take you to the post! :)

So, I am FINALLY participating in a Digital Delights Challenge - my good friends Wanda and Betty are Design Team members over there and my support has been grossly overdue! :) BUT I hope I will be making up for it by participating in both their glitter challenge and their SNR challenge

This adorable nutcracker is available for FREE today and tomorrow. If you upload a card by tomorrow for the challenge using the nutcracker than you get the sugar plum fairy (adorable - and I have to admit -it's most of the reason I chose this one. She is SO cute!) for free! THEN if you win, you get $10. I can't even keep it all straight! What a great thing! :)

I have just gotten my i-rock from Imaginisce and I have to warn you - you may start blinging things inappropriately. I can't stop! :)


Recipe:
Cartridge: Wild Card Cartridge™ (I used my Gypsy™ to add the hole in the center to use acetate as the middle layer)
Paper: Imaginisce Cottage Chistmas Collection™
Digi-stamp: Digital Delights by Louby Loo™! :)
Sentiment and snowflakes: Winter Punnies™ my My Pink Stamper
Embossing powder: a la Mode™
Heat gun: EK Success™
Adhesive: Martha Stewart Gel Adhesive™
Red glitter: Studio G™
Bling: i-rock and gems by Imaginisce™

This also qualifies for Cricut Cardz Challenge #50 - Use a card function to create a Christmas Card.

SHARE THIS POST - {PINTEREST}

Tuesday, November 2, 2010

Be Inspired Wednesday - A Thanksgiving color card

This week at Passionately Artistic we have been asked to use green, orange, and brown along with a Thanksgiving theme. This is the card I created. :)
Recipe:
Card stock: Paper Trey Ink Perfect Match: Ripe Avocado™, Orange Zest™, and Dark Chocolate™
Ribbon: Paper Trey Ink Saddle Stitch Ripe Avocado™
Embossing: 5x7 Holly Ribbons Emboss Folder™, Swiss Dots Emboss Folder™
Cartridge: Winter Woodland™
Adhesive: Glue Arts™ and Martha Stewart Gel Adhesive™
Button: Paper Trey Ink Holiday Mix™
Twine: Paper Trey Ink Rustic Cream Button Twine™
Glossy Accents
Ink: Momento™, Versamark™
Sentiment: Hero Arts CL272™
Embossing Powder: Filigree Gold™

Instructions
Cut Branch 2 card feature from Winter Woodland at 5.5" out of Dark Chocolate.
---Note: I left the real dial size off, but it did not translate to the leaves, so that is why the measurement is different--
Cut leaves at 2.25" out of Ripe Avocado.
Emboss leaves with swiss dots.
Ink around edges of leaves with Momento brown ink.
Ink the top of the raised dots with Momento brown ink.
Cut layer for background out of Orange Zest.
Emboss Orange Zest background with Holly Leaves Emboss Folder™ using your Cuttlebug™.
Adhere orange layer to back of brown front of card using your Glue Glider Pro™ or other adhesive.
Stamp sentiment (this one is from Hero Arts™) using VersaMark ink.
Pour gold embossing powder over the top and shake off all excess.
Using heat embossing tool (I used EK Success Coloriser™ and LOVE it), emboss sentiment
Doodle around all edges and on acorn as well as branches and leaves as desired.
Use button twine around button and adhere to acorn using small pop dot.
Add ribbon and secure with Glue Arts Extreme Adhesive Squares™ on the back of the bow.
Smile and enjoy your card! :)

Now pop on over to Passionately Artistic to see what the other ladies have made. Link up your project just to share with us at the bottom if you would like! Have a wonderful day!

SHARE THIS POST - {PINTEREST}

Friday, October 1, 2010

Scaredy Cat

Welcome to the Halloween Blog Hop!

I am very excited to be a part of this great hop with these fabulous ladies. You should have gotten here from Star's Blog. If not, hop back to Jen's blog to start at the beginning and to enter in all the giveaways!

The hop is from October 1-3 so be sure to come back again and leave us comments as we are giving away lots of goodies!

This card was so much fun. I made it while I was on Skype with Maggie who is the owner of the Cuttlebug Challenge blog - of which I am honored to be a part of the design team.

I made it after I received My Pink Stamper's Spooky Puns™ to go with it.

Recipe:
Adhesive: Glue Arts™, Martha Stewart Crafts™ gel adhesive, pop dots
Ribbon: JillyBeanSoup™
Glitter: Pink Paislee Pixie Stix™
Journal Card: Pink Paislee™ Twilight Collection™


Instructions:
1. I flipped and cut the cat at 3 inches in both black and glossy white.
2. I then used glossy accents all over the black cat and put Pink Paislee black glitter over the whole thing.
3. While it was still wet, I cleared back out the eyes to reveal the white and added the orange Hero Arts™ adhesive gem stones.
4. I embossed the background with the Cuttlebug Boo to You Emboss Folder™
5. I adhered the orange layer to the striped one.
6. Next I added the black with white polka dots JillyBeanStalks to the layers.
7. I used my Glue Glider Pro™ to adhere the layers to a white card base.
8. I stamped the journal card from Pink Paislee™ with the Spooky Puns™ sentiment "Scardey Cat".
9. I pop dotted the journal card with mini-popdots.
10. Lastly, I pop dotted the cat with higher foam dots.
11. I was done! :)


EAD Designs has decided to sponsor this giveaway and has provided me with some AWESOME Halloween stickerz. Thank you EAD!!!


I am giving away:

My Pink Stamper's Spooky Puns™ This link will take you to the place where I bought them at Pumpkin Spice. It is a fabulous little shop with the best customer service and the best shipping rates I have found to date! AND she is having free shipping over $40 if you use the coupon code "OCTBLOGHOP" in support of our blog hop! How nice is that? Thank you Pumpkin Spice!


If you get lost in the hop, here is the order:


Now head on over to Yvette's blog to end the hop! We hope you had fun today!

Don't forget to leave a comment on this post so that you can be entered into the drawing for these awesome prizes and remember to come back on Saturday and Sunday as well! I will be picking multiple winners! 

Become a follower if you would like to and rest assured I've already done my shopping for another giveaway in November and EAD has sent some goodies for that too! :)

SHARE THIS POST - {PINTEREST}

Tuesday, July 27, 2010

Christmas Around the Clock Challenges 4-6, WMC#15

Just a short (written) post today with three projects and recipes. I will tell you that stamping on tile is a LOT harder than it looks! It kept smearing on me! haha.

Challenge #4: Ink an embossing pad, emboss, and then create a scene. (I thought the embossing folder would look like candy canes so that was kind of what I was going for)

Recipe:
Card Stock: white and DCVW™ - size A2
Embossing: A2 Organic Border Emboss Folder™
Corner Punch: Martha Stewart™ rain drops
Stamping: Recollections™ Winter Wonderland set
Coloring: Copic™ makers Ciao set
Shiny things: Glossy Accents™, Memory Box™ pearls, Hero Arts™ Hero Hues Gems
Ribbon
Ink: VersaColor™ - Neptune, Momento™ - Rich Cocoa, ColorBox™ -Black

Challenge#5: Stamping on Ceramic Tiles

Recipe:
Stamps: Recollections™ Winter Wonderland, Martha Stewart Crafts™ (letters for Lee Family)
Ink: StazOn™ Black, Brown, Sharpie™ Markers (lavender, gold, brown)

Challenge #6: Embossed Tag

Recipe:
Stamping: Martha Stewart Crafts™ (letters for "To: From:")
Emossing: A2 Snowflakes Emboss Folder™ (super find at Michaels for $3.59)
Cut: Designer's Calendar™
Eyelets: Crop-a-dile™
Red Ribbon

The first two (technically all three, but just words might not count) qualify for Wee Memories Challenge #15 - Stamping!

SHARE THIS POST - {PINTEREST}
 
SITE DESIGN BY DESIGNER BLOGS